Mastering Packaging Design in Figma: Creating Labels and Importing EPS Files
Welcome to our latest blog post where we dive into the world of packaging design using Figma, one of the most versatile design tools available today. In this tutorial, we’ll explore the step-by-step process of creating labels for packaging designs in Figma. Additionally, we’ll learn how to enhance our workflow by integrating Adobe Illustrator EPS files into Figma using plugins.

1. Getting Started with Label Design in Figma
Label design plays a crucial role in packaging, as it communicates essential information about the product while also serving as a visual representation of the brand. Follow these steps to create stunning labels in Figma:
- Create a New File: Open Figma and start a new file by selecting “New File” from the dashboard.
- Set Up Artboard: Choose an appropriate artboard size for your label design. Common label sizes include 2x2 inches for small products and 4x6 inches for larger items.
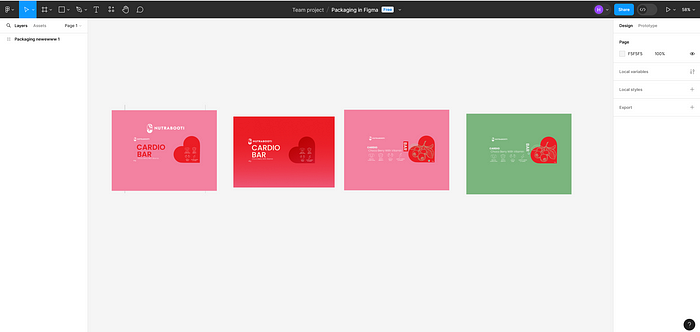
- Design the Label: Use Figma’s powerful design tools to craft your label. Experiment with shapes, colors, typography, and images to create a visually appealing and informative design.
- Add Text and Graphics: Incorporate product information such as name, ingredients, barcode, and branding elements onto the label. Ensure that the text is legible and the graphics are high-quality.
- Fine-tune the Design: Pay attention to details such as alignment, spacing, and consistency to achieve a polished look for your label.
- Export the Design: Once satisfied with your label design, export it in the desired format (e.g., PNG) for use in packaging mockups or printing.

2. Integrating Adobe Illustrator EPS Files with Figma
Many designers prefer Adobe Illustrator for creating vector graphics, including logos and illustrations. Figma allows seamless integration of Adobe Illustrator EPS files through plugins, enhancing your design workflow. Follow these steps to import EPS files into Figma:

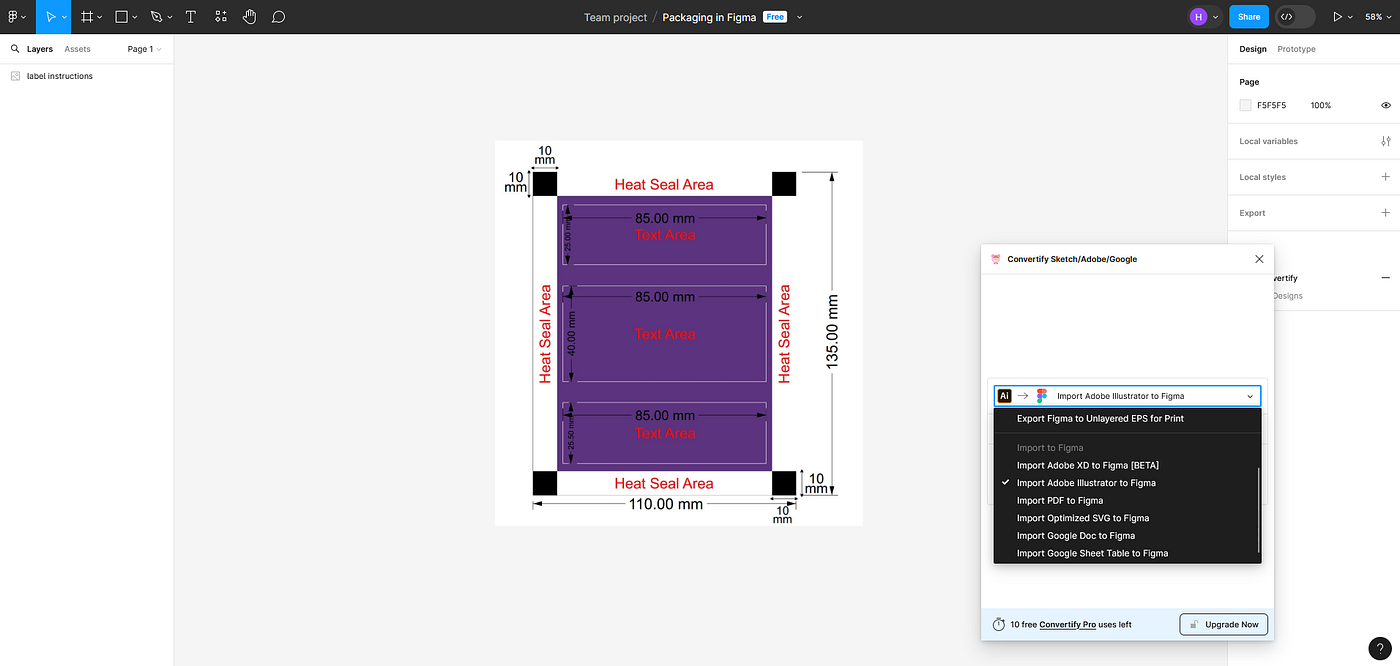
- Install the “EPS Importer” Plugin: Open Figma, navigate to the Plugins tab, and search for “EPS Importer.” Click “Install” to add the plugin to your workspace.


- Access the Plugin: With the plugin installed, select “Plugins” from the top menu in Figma, then choose “EPS Importer” from the list of installed plugins.
- Import EPS Files: Use the EPS Importer plugin to import Adobe Illustrator EPS files directly into your Figma project. Simply select the EPS file from your computer, and the plugin will handle the rest.


- Edit as Needed: Once imported, you can edit the EPS file within Figma, including resizing, repositioning, and making adjustments to suit your packaging design.
- Save and Export: After incorporating the EPS file into your design, remember to save your progress and export the final design as needed.
With these tips and techniques, you’re well-equipped to create captivating labels for packaging designs in Figma and seamlessly integrate Adobe Illustrator EPS files into your projects. Experiment with different styles, layouts, and features to unleash your creativity and produce stunning packaging designs that stand out on the shelf.
